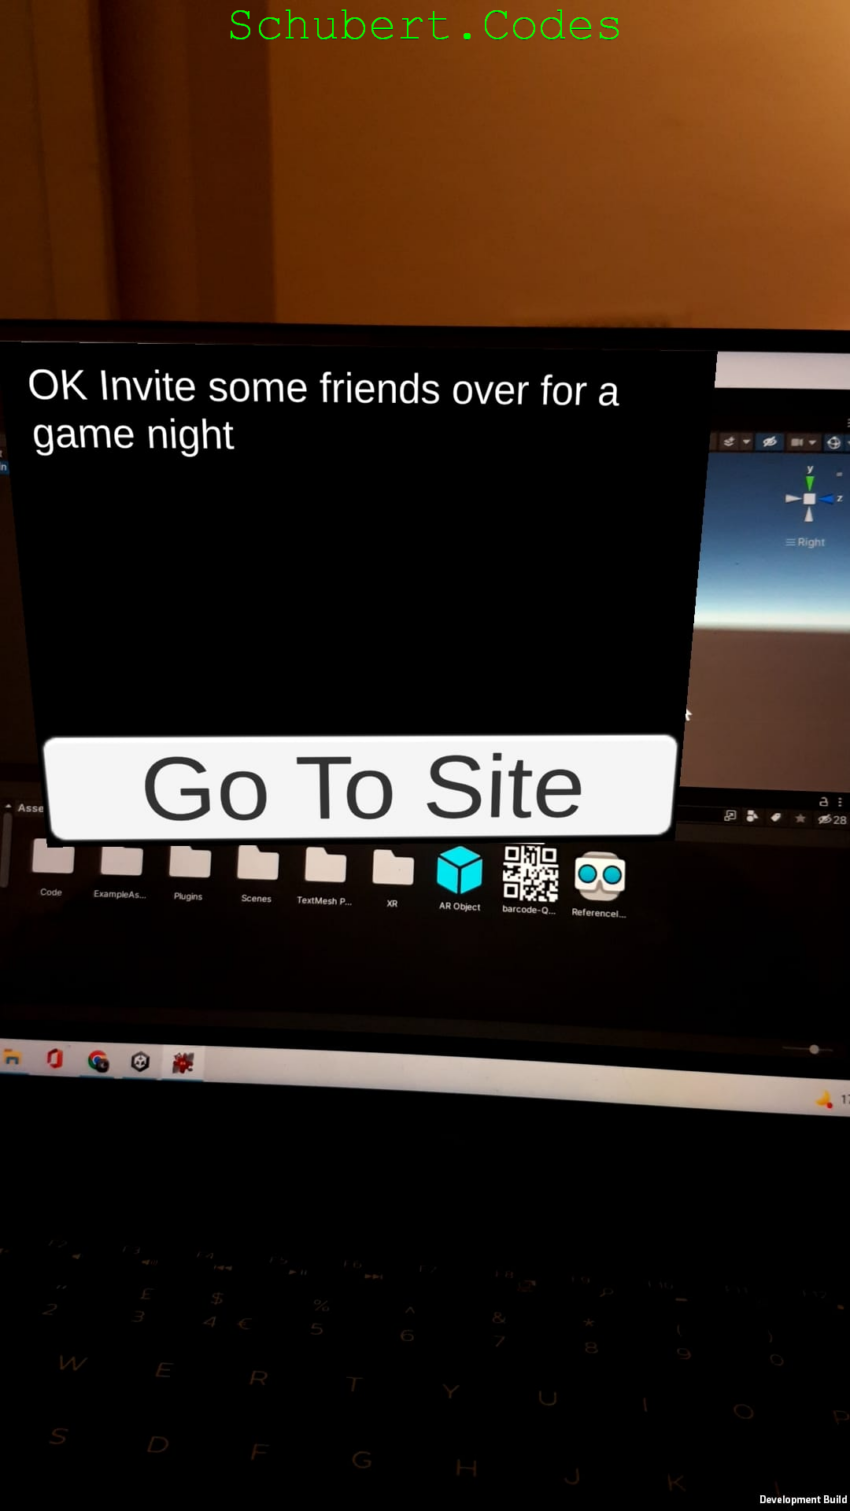
In my previous blog post we managed to build an AR application using Unity and deploy it on our android. The AR application shows a 3D cube when we hover over our QR code. This time we are going to make an API call from our AR application and show the result over the QR code. And then we are going to add a button. When we click the button, it should open the browser and take us to a webpage
Create a custom AR Image Tracking Manager
Create a Folder under Assets and call it Code. And create a C# class called “CustomImageTrackingManager.cs”. We need to listen to the events that the AR Tracked Image Manager give us. These events tell us when the tracking manager detected our QR codes and when it goes out of view. Seeing as our Temperature and Humidity API is not publicly accessible, we are going to call another API. We will call the activity endpoint at boredapi.com. This should give us a new activity, but we could have easily call our API or any API for that matter.
Double click on “CustomImageTrackingManager.cs” and enter the below code:
using System;
using System.Net.Http;
using TMPro;
using UnityEngine;
using UnityEngine.XR.ARFoundation;
using UnityEngine.XR.ARSubsystems;
[RequireComponent(typeof(ARTrackedImageManager))]
public class CustomImageTrackingManager : MonoBehaviour
{
    [SerializeField]
    private GameObject arPrefab;
    [SerializeField]
    private Vector3 scaleFactor = new Vector3(0.1f, 0.1f, 0.1f);
    [SerializeField]
    private String browseTo;
    private ARTrackedImageManager m_TrackedImageManager;
    private HttpClient httpClient;
    private GameObject arObject;
    private string message;
    // Start is called before the first frame update
    void Awake()
    {
        m_TrackedImageManager = GetComponent<ARTrackedImageManager>();
        httpClient = new HttpClient();
        arObject = Instantiate(arPrefab, Vector3.zero, Quaternion.identity);
        arObject.SetActive(false);
    }
    void OnEnable()
    {
        m_TrackedImageManager.trackedImagesChanged += OnTrackedImagesChanged;
    }
    void OnDisable()
    {
        m_TrackedImageManager.trackedImagesChanged -= OnTrackedImagesChanged;
    }
    void OnTrackedImagesChanged(ARTrackedImagesChangedEventArgs eventArgs)
    {
        foreach (ARTrackedImage trackedImage in eventArgs.added)
        {
            UpdateARImage(trackedImage);
        }
        foreach (ARTrackedImage trackedImage in eventArgs.updated)
        {
            UpdateARImage(trackedImage);
        }
        foreach (ARTrackedImage trackedImage in eventArgs.removed)
        {
            arObject.SetActive(false);
            message = null;
        }
    }
    private void UpdateARImage(ARTrackedImage trackedImage)
    {
        if (trackedImage.trackingState != TrackingState.Tracking)
        {
            arObject.SetActive(false);
            message = null;
        }
        else
        {
            AssignGameObject(trackedImage.referenceImage.name, trackedImage.transform.position);
        }
    }
    void AssignGameObject(string deviceName, Vector3 newPosition)
    {
        arObject.SetActive(true);
        arObject.transform.position = new Vector3(newPosition.x, newPosition.y + 0.1f, newPosition.z - 0.01f);
        arObject.transform.localScale = scaleFactor;
        var urlOpener = arObject.GetComponentInChildren<UrlOpener>(true);
        urlOpener.queryParameter = deviceName;
        try
        {
            var textMesh = arObject.GetComponentInChildren<TextMeshProUGUI>(true);
            if (textMesh !=null && message == null)
            {
                var result = httpClient.GetAsync($"{browseTo}{deviceName}").Result;
                if (result.IsSuccessStatusCode)
                {
                    var resultString = result.Content.ReadAsStringAsync().Result;
                    var activity = JsonUtility.FromJson<Activity>(resultString);
                    message = (!string.IsNullOrWhiteSpace(activity.activity) ? activity.activity : resultString);
                }
                else
                {
                    message = $"API call failed, StatusCode:{result.StatusCode} Reason:{result.ReasonPhrase}";
                }
                textMesh.text = message;
            }
        }
        catch (Exception ex)
        {
            urlOpener.queryParameter = ex.Message + ex.StackTrace;
        }
    }
    [Serializable]
    public class Activity
    {
        public string activity;
        public string type;
        public int participants;
        public float price;
        public int key;
        public float accessibility;
    }
}
The variable arPrefab is the AR prefab that we want to initialise over our QR code. scaleFactor is how much we want our arPrefab to scale by in the AR world. Usually we have to shrink our arPrefab, we will get to this shortly. The browseTo variable is the API we want to browse to. In Awake function we initalise the ARTrackedImageManager that AR Foundation provides and in OnEnable() and OnDisabled() methods we wire up to the events that ARTTrackedImageManager raise.
In OnTrackedImagesChanged() we are informed when our QR code is visible or not. If our QR code is visible we land up calling AssignGameObject(), who takes the object name and location and then show our AR prefab at that location. If our QR code is not visible we rem
ove our prefab. Because the QR code goes through Tracking states, we are only using the TrackingState.Tracking to show our AR prefab and then we use the message to only show one new activity at a time. Free free to play around with the states and see the outcome.
Make AR prefab face the camera
The next thing we can look at is the orientation of the AR prefab. When the prefab get initialised it can get any orientation and it would be nice if the prefab faced us i.e. the camera. Also as we move around we want the prefab to face us. So after much searching around I found the below
using UnityEngine;
public class FaceCamera : MonoBehaviour
{
    Transform cam;
    Vector3 targetAngle;
    // Start is called before the first frame update
    void Start()
    {
        cam = Camera.main.transform;
        targetAngle = Vector3.zero;
    }
    // Update is called once per frame
    void Update()
    {
        transform.LookAt(cam);
        targetAngle = transform.localEulerAngles;
        targetAngle.x = 0;
        targetAngle.y += 180;
        targetAngle.z = 0;
        transform.localEulerAngles = targetAngle;
    }
}
For this code to work make sure that the AR camera is tagged as the “Main Camera”. In the Start method we save the main camera transform and in update we update the current game object to look at the camera. As you can imagine this script can added to any game object we want facing the camera
Button click with custom parameter
The last script we will need is an action script. This needs to be called when the user click the button. We want to take the user to a URL with a custom parameter. This script is fairly simple and looks like
using System;
using UnityEngine;
public class UrlOpener : MonoBehaviour
{
    [SerializeField]
    public String queryParameter;
    [SerializeField]
    public String browseTo;
    public void Open()
    {
        Application.OpenURL($"{browseTo}{queryParameter}");
    }
}
It has two fields, the browseTo, this can be any website we want the user to browse to when they click our link and the queryParameter, this will get set dynamically when the AR Object is selected. So when the user click the link they are taken to a webpage specific to the QR Code
Creating the AR Object in Unity
Now that we have the scripts, lets create our AR Object. Our AR object is like a black board with white text and a button for interaction.
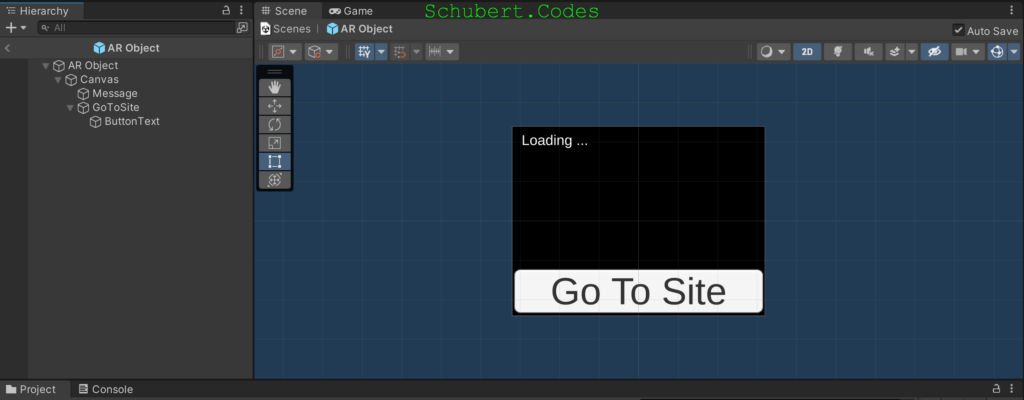
Start off by create an ‘Empty Object’ and call it ‘AR Object’. This will be our root object for our AR Object. Choose ‘2D’ on the top right, this will make it easy to adjust the canvas, text and button we are about to add.
Next add a ‘Text – TextMeshPro’ under UI to our AR Object. This will be our text area and we are going to manipulate this text box show our message. Rename the ‘Text – TextMeshPro’ to ‘Message’. Change the initial text to ‘Loading …’ and change the font size to 36. Adjust the Canvas width and height to 640 x 480 and change the Render Mode to ‘World Space’ and add our ‘Face Camera’ component. Also add an ‘Image’ component to the Canvas and set it’s color to black. Now, adjust the message so it occupies the top of the canvas.
Then add a ‘Button – TextMeshPro’ under UI to our AR Object. This will be used for any customer interaction. Change the button text to ‘Go To Site’ and font size to 24. Rename the Button to ‘GoToSite’ and add our new Url Opener component to it. In the Browse to set the url to any site you want your customer to go to. I’ve set it to ‘https://www.google.co.uk/search?q=’ just to test the button.
Drag the AR Object into the Assets folder and this should create a Prefab of our AR Object. Now we can initialise and it place it anywhere in the AR world that we like. After the prefab is created, delete the original object. The last thing left to do is to add our ‘Custom Image Tracking Manager’ to the AR Session Origin, set the Ar Prefab to our prefab AR Object. Set the Scale Factor to 0.001 across all dimensions and set the Browse To to the bored API activity i.e. ‘https://www.boredapi.com/api/activity’
Vola! now connect your Android, build your project, hover over the QR code and we should see an activity. Click on the button and we are taken to google with our set name.
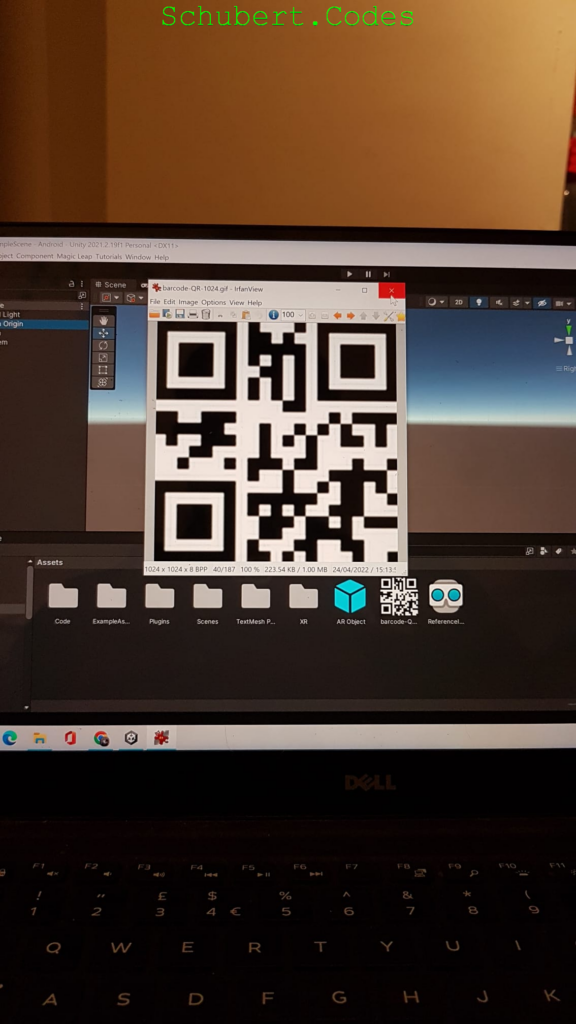
This is just the QR code on my laptop
First time I browse over the QR code with this Application, the API gets called and we get this AR popover
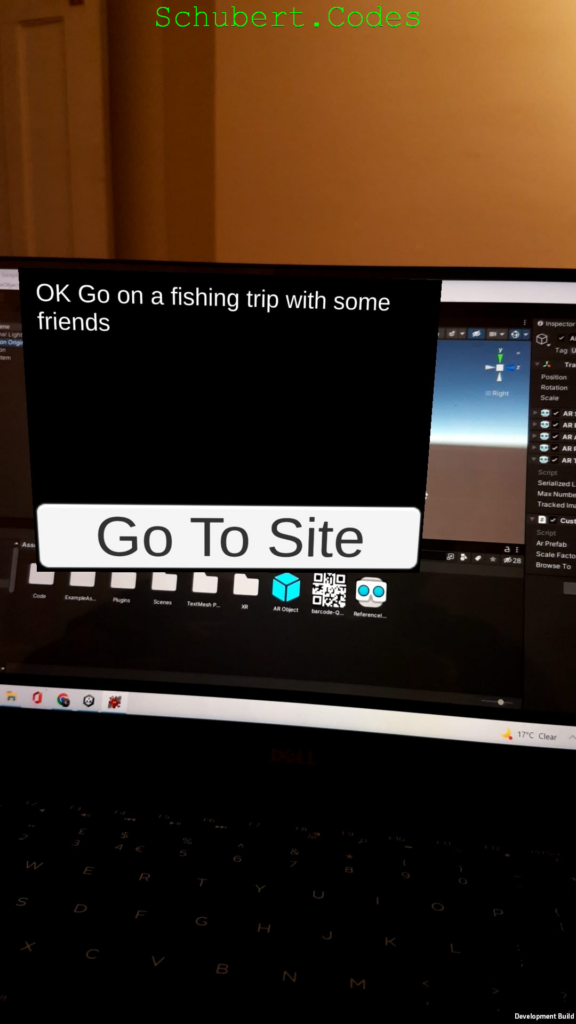
When I browse away and back to the QR code, the API gets called again and the AR popover now looks like
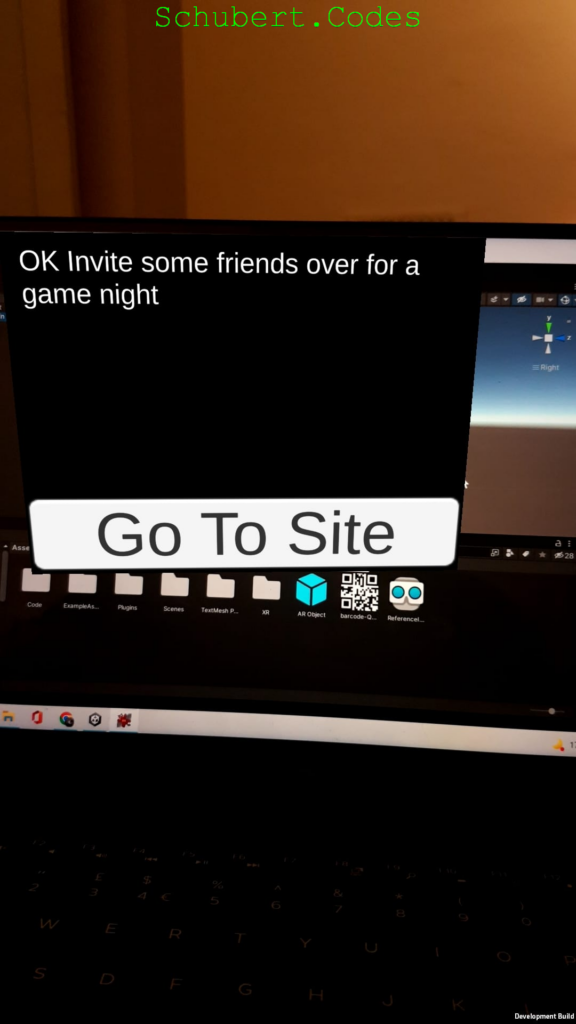
Final Result
We calling the bored API to get an activity but we could have easily called our Temperature API to get the latest readings and present that in our AR Object. And just like we are querying Google, we could have easily constructed a url to our Angular site. Sky is the limit here.
Happy Coding!
