My son is five, and everything is a question at the moment. Why do plants need water? Which way do the roots go? And the one I couldn’t answer very well: how do you know when a plant needs watering? You look at it, you poke the soil, you guess. That didn’t feel like a good enough answer for a five-year-old, or for me, so we decided to find out together.
This post is a bit different from my usual ones. It’s half gardening, half electronics, and it’s the kind of project you can do with a small child at the kitchen table over about a week. By the end we had three kinds of seeds germinating in takeaway tubs, seedlings in pots, and an ESP32 telling us, in numbers, whether the soil was thirsty.
Choosing the seeds
We sat down with the booklet from a vegetable seed kit and I let him choose. A booklet full of pictures is a great way to do this with a young child. Each page has the vegetable, a short description and a sowing chart, so there’s plenty to point at and talk about. He picked three:
– Rocket — small seeds, peppery leaves, and quick to get going. A good choice when the person waiting is five.
– Broccoli “Autumn Calabrese” — tiny, round, dark seeds. It’s a quick-growing variety with large green heads, and the packet’s top tip is that once you cut the main head, side shoots keep coming for more harvests.
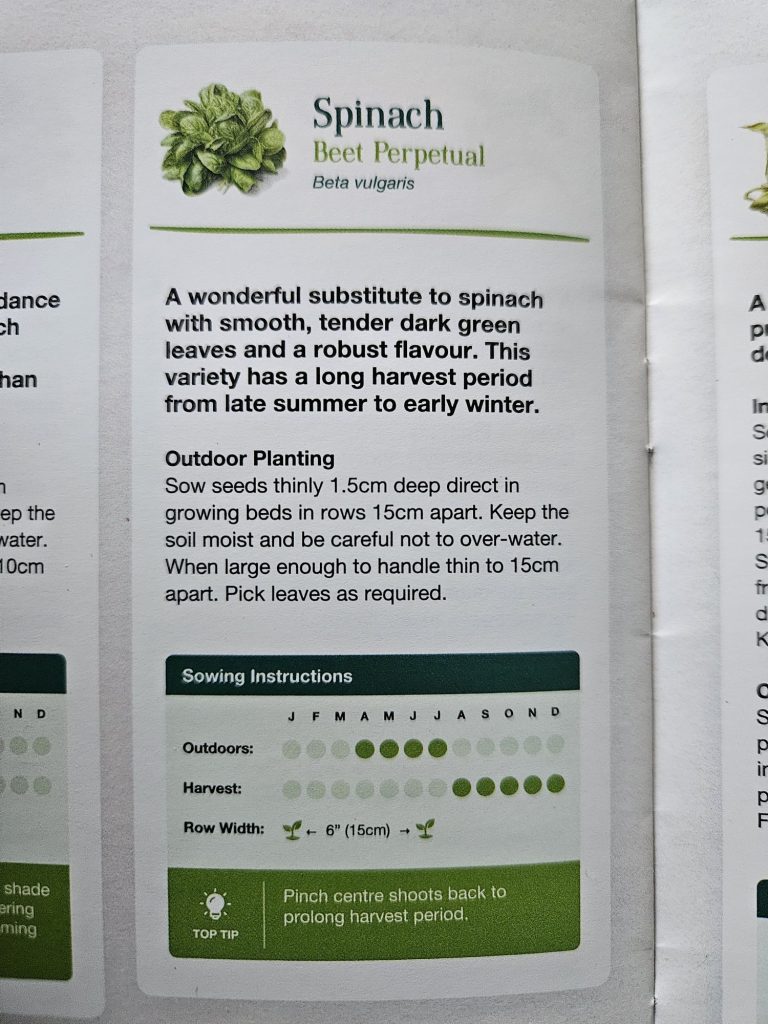
– Spinach “Beet Perpetual” — not true spinach, it’s a leaf beet with smooth, dark green leaves. The “seeds” are actually little knobbly clusters, which look nothing like the other two. Harvest runs from late summer to early winter, and pinching the centre shoots back keeps it going longer.
A note on the calendar
If you look at the sowing charts in the booklet, we were well out of season. We sowed in September. The booklet says broccoli goes in indoors from March to May and out in June or July, and spinach goes outdoors from April to July.
It didn’t matter, because we’re growing indoors under a grow light as part of my grow chamber project. Indoors, the light and the warmth come from us, not the weather. So the season didn’t decide what we could grow, and he could pick whatever he liked from the booklet rather than whatever happened to suit the month.
That’s one of the quiet advantages of growing indoors, and it’s the whole idea behind the chamber: if you control the light, water and temperature, the calendar matters a lot less. It’s also how plants are grown on space missions, where there are no seasons at all.
Germinating in a takeaway tub
You don’t need seed trays or compost for this part. We used the clear plastic takeaway tubs that every kitchen seems to collect.
1. Fold two or three sheets of kitchen roll and lay them in the bottom of the tub.
2. Wet them until they’re damp all through, then tip out any standing water. Damp, not swimming. Seeds sitting in water can rot.
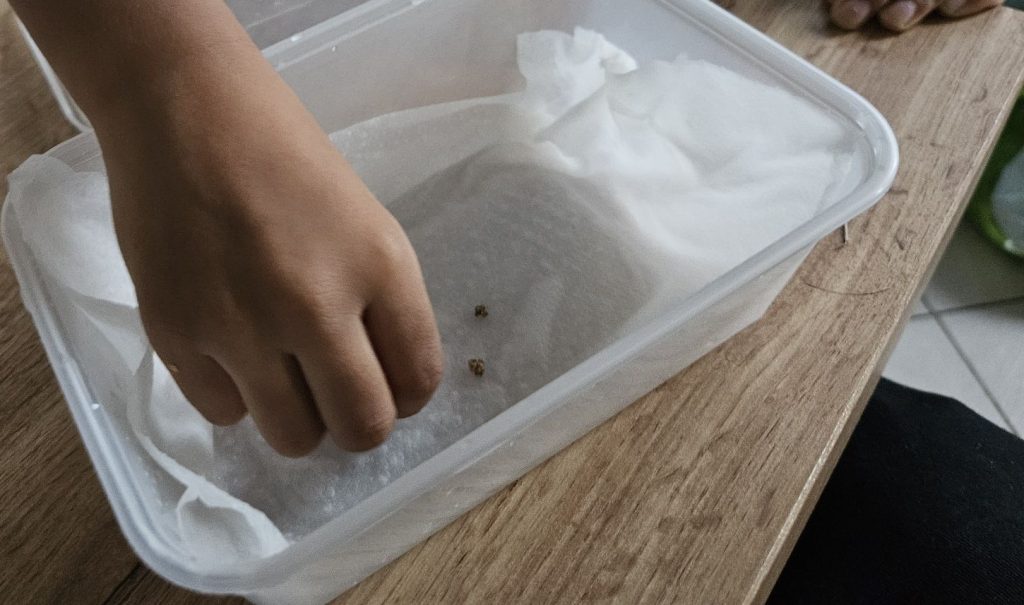
3. Space the seeds out on the paper, with a gap between each one so the roots don’t tangle. This is the perfect job for a five-year-old, one seed at a time with a fingertip.
4. Put the lid on. It keeps the moisture in, like a mini greenhouse.
5. Write the seed name and the date on the lid with a marker. With three tubs that look the same, you might forget which is which.
6. Keep them somewhere warm and check every day. If the paper starts to dry out, add a splash of water.
The best part is that the tub is clear, so you can see what’s happening without disturbing anything. Checking the seeds became a daily job.
What happened
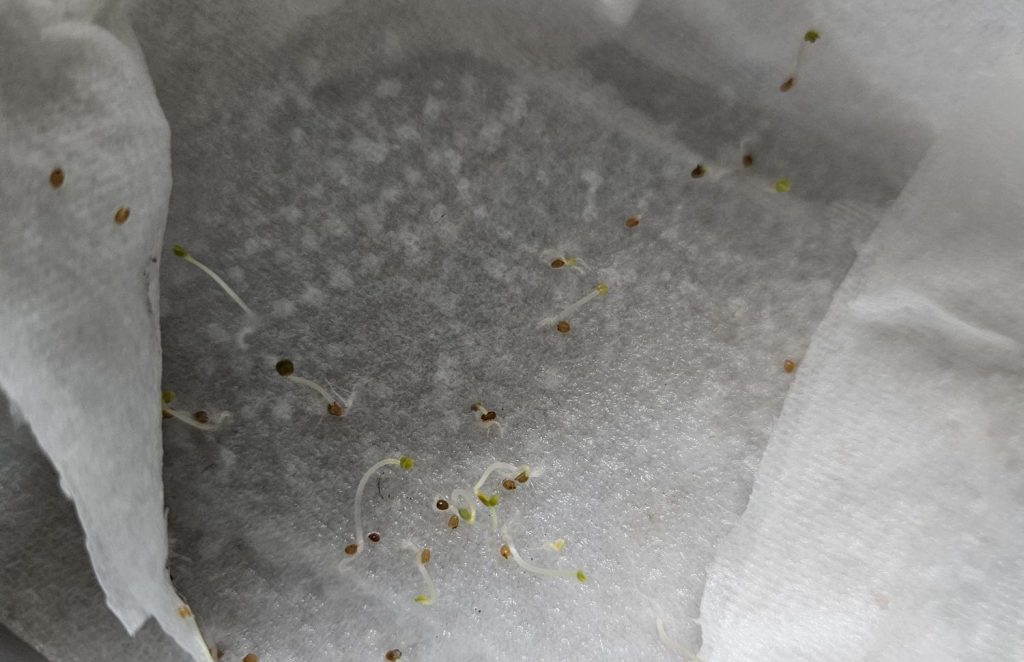
We sowed on a Tuesday. Just two days later, the first broccoli seed and three rocket seeds already had tiny white roots poking out, so we planted those straight away.
This was my favourite moment of the whole project. I tried to explain the “baby root” to him as we planted: the root always goes down into the soil, and the leaves go up towards the light. Each seed went into the compost root first, covered gently.
By day four, the rest of the rocket and broccoli had germinated too, and the first broccoli already had its baby leaves showing. The spinach was the slow one, took over a week to germinate. Only 2 of the 6 seeds came up, and the other four never did.
That’s worth saying out loud to a child: not every seed makes it, and that’s normal. It’s why the packets tell you to sow more than you need.
| Seed | First Roots | Result |
| Broccoli | 2 days | All germinated by day 4 |
| Rocket | 2 days | All germinated by day 4 |
| Spinach | 5+ days | Only 2 of the 6 seeds germinated |
By the end of the first week we had four pots set up, all with germinated seedlings in them.
Wiring up the soil moisture sensor
While we waited for the seeds, we answered the other question: how do you know when soil needs water?
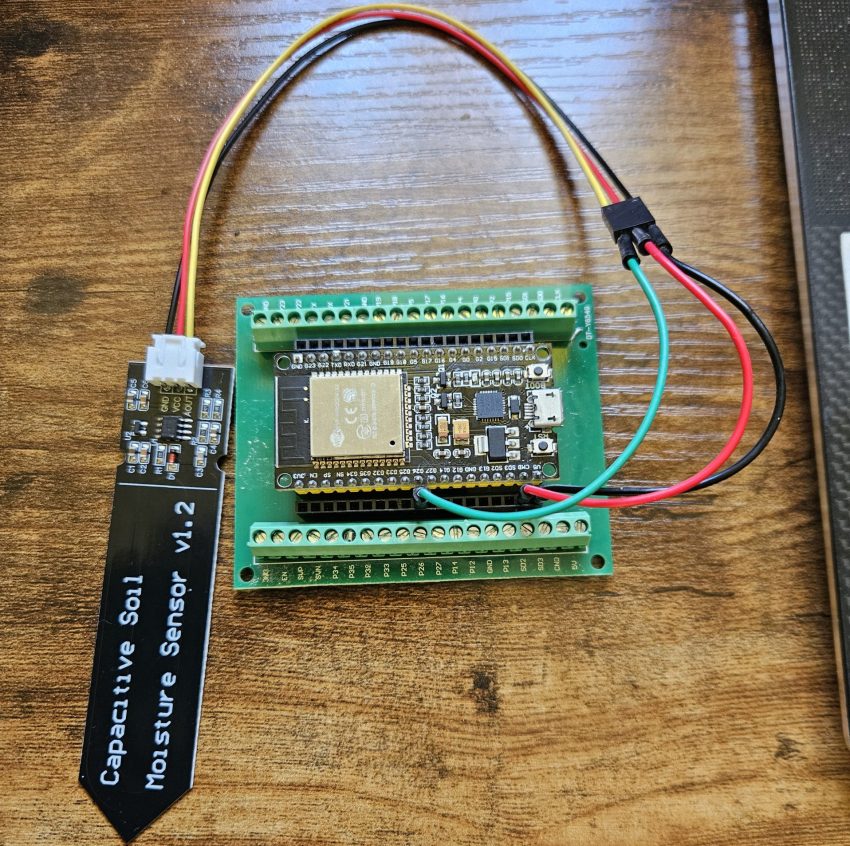
I used a capacitive soil moisture sensor (v1.2), which costs a few pounds, and an ESP32 dev board sitting on a screw-terminal breakout board. The screw terminals mean no soldering and no fiddly breadboard, which helps a lot when small hands are involved.
Pick the capacitive type over the cheaper “fork” style sensors. The fork ones pass a current through the soil, and the metal corrodes within weeks. The capacitive one has no exposed metal in the soil, so it lasts.
The sensor has three pins, so there are three wires:
| Sensor | ESP32 |
| VCC (red) | 3V3 |
| GND (black) | GND |
| AOUT (yellow) | GPIO32 |
Why GPIO 32? The ESP32 has two sets of analogue pins, ADC1 and ADC2. ADC2 stops working as soon as WiFi is turned on, and I’ll want WiFi later to send readings to my server. GPIO 32 is on ADC1, so it keeps working. It’s an easy one to get caught out by.
My son did the connecting. He matched the colours and pushed the jumper wires on, and then we plugged the board into the laptop.
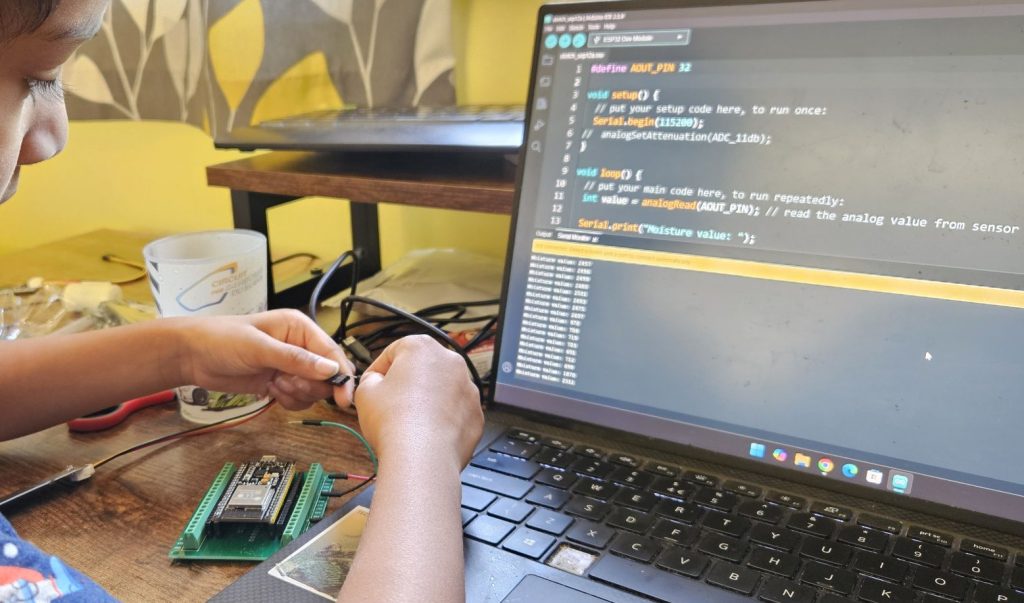
The code
It’s about as short as an Arduino sketch gets:
#define AOUT_PIN 32

void setup() {

  Serial.begin(115200);

}

void loop() {

  int value = analogRead(AOUT_PIN); // read the analog value from sensor

  Serial.print("Moisture value: ");

  Serial.println(value);

  delay(500);

}
The ESP32 reads the voltage on the pin and turns it into a number between 0 and 4095. Open the Serial Monitor at 115200 baud and the numbers start scrolling.
Dry, wet and soil: the readings
This was the fun bit. We tested three conditions and watched the numbers change live.
1. Dry — sensor held in the air. Readings sat around 2,450–2,500.
2. Wet — sensor dipped in a glass of water (only up to the line on the board, never the electronics at the top). The numbers dropped straight away to around 580–715.
3. Soil — sensor pushed into a pot of compost. This was the surprise. The compost read close to dry, nearly as high as the sensor in open air. It only dropped to around 1,000 after we watered it. Compost can look dark and damp and still be dry as far as the sensor is concerned.
| Condition | Typical reading |
| Dry (air) | ~2,450–2,500 |
| Wet (water) | ~580–715 |
| Soil, before watering | close to dry |
| Soil, after watering | ~1000 |
The first thing to get your head around is that it’s backwards: a higher number means drier. The sensor works like a tiny capacitor, and water changes how much charge it can hold. More water, lower number.
The second thing is that it reacts to touch. Hold the sensor in your hand and the number jumps, because we’re mostly water and the sensor “feels” us too. He really enjoyed testing that.
From these readings I use a simple rule of thumb: above about 2,000 is dry, below about 1,000 is wet. Every sensor is slightly different, though. I have several, and one of them read just over 1,000 in water when the others were well under. So it’s worth doing this calibration with each of your own.
What he learned (and what I learned)
He now understands that a plant needs water but can also get too much, and that we can measure it instead of guessing. He also saw a root come out of a seed, which beats any picture in a book.
What I learned is that this is a great project to do together. The seeds give the slow, patient part, checking every day. The sensor gives the instant part, with a number that changes the moment you dip it in water. Between them, they kept a five-year-old interested all week.
What’s next
The sensors are now in the pots, sending a reading every 15 minutes to the small server running Ubuntu Server with K3s, which I’ll write about in a future post. In my next build-log post I’ll share those real readings over time, and we’ll see each pot drawn out on a chart.
That matters more than I expected. A few weeks in, our seedlings slowed right down, and I’m fairly sure I was overwatering them. Young seedlings don’t need as much water as bigger plants, and a number would have told me that before the leaves did.
If you try this with your own kids, I’d love to hear what they picked to grow.
What we used:
– Vegetable seed kit: plant/seed kit
– Capacitive soil moisture sensor v1.2: moisture sensor
Happy coding (and growing)!